

The cracks and scrolls are calling out to be distressed!

First, I gave it a coat of AS Paris Grey.

One of the techniques we used in the workshop was wet distressing. Once the paint is just dry, take a damp cloth and wipe off the paint. This removed the Paris Grey, but didn't scratch the gold underneath.


Then I took some Pure White and brushed that on. I didn't completely cover every surface. That's one of the things I love about AS paint....you don't have to be perfect.

Then, some more wet distressing and distressing with fine sandpaper.


It has the most perfect antique French look! To finish it off, I'll be adding some twine to the middle section. It will be a cute way to display jewelry or photos.

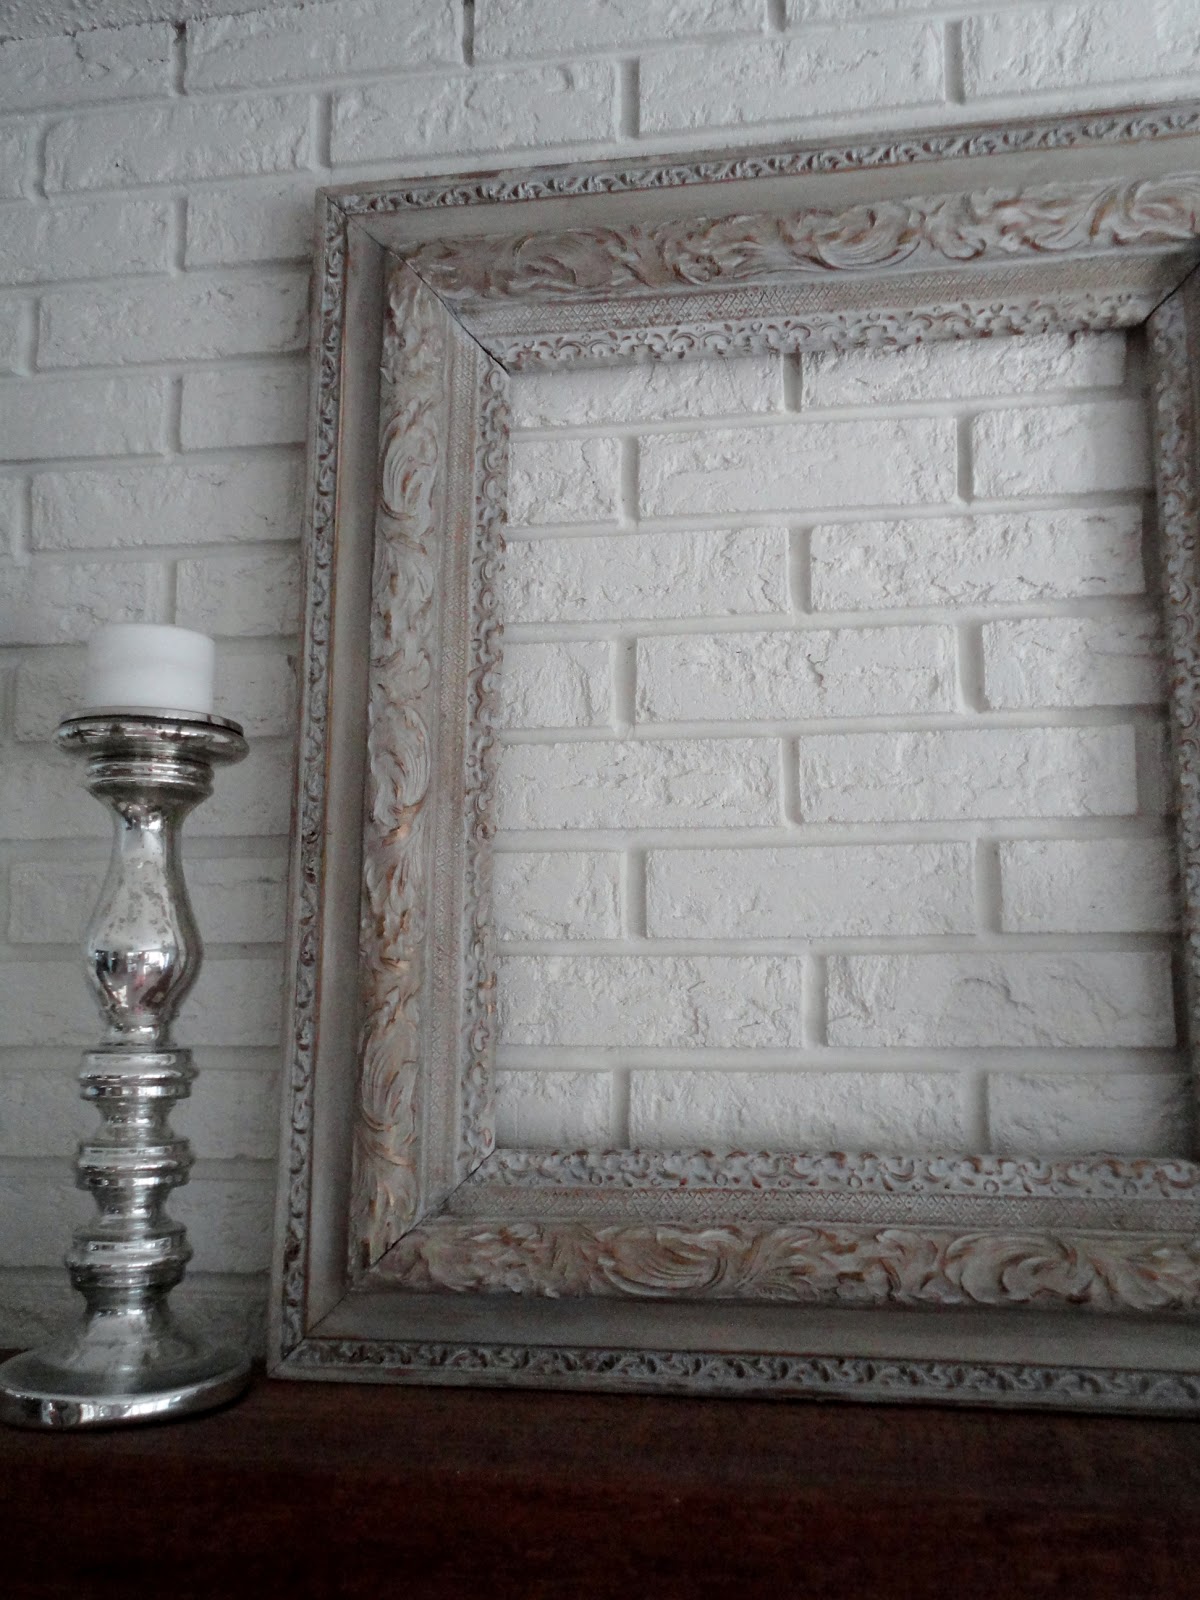
It has great depth and looks like there are so many layers...yet it was really a simple process!


Linking to:


AWESOME!!
ReplyDeleteGreat tutorial! Pinning it for reference. Found you from The Girl Creative's Features post!
ReplyDeleteKristy @ Shona Skye Creations
http://shonaskye.blogspot.com
Thanks for stopping by (and the pin) Kristy!
ReplyDelete~Jessi
That is really quite beautiful. Thank you for sharing all the distressing tips and thank you for sharing this at my Make it Pretty Monday party at The Dedicated House. Hope to see your prettiness again on Monday. Toodles, Kathryn @TheDedicatedHouse
ReplyDeleteHi Jesse! This finish is beautiful. Thank you so much for sharing instructions. I am a new blogger and have an Etsy shop too! It has been going well, just have a hard time completing enough inventory!! I am going to try your tecnique on an upcoming piece and I'll let you know how it goes. I'll follow you and if you get a chance to check out my site (www.tweakandstyle.com), maybe you could follow me?
ReplyDeleteBest of luck with Etsy and blogging!!
Debbie
From all I have read and found on chalk painting, I was under the impression everything has to have a coat of clear wax before applying dark wax. Is it not necessary with this technique? The mirror is gorgeous. Thank you.... Joyce
ReplyDeleteJoyce: I believe they suggest a clear coat of wax, as the dark wax will stain the paint. That didn't matter to me in this case, so I just applied the dark wax.
ReplyDeleteThis comment has been removed by the author.
ReplyDeleteWow great looking frame. Will surely share this one with our readers at Paintbox Art & Framing
ReplyDeletethis is SO gorgeous!!!! exactly what i needed for my gold antique mirror! just bought some AS french linen today! i know what my next project will be. thanks!!!
ReplyDeleteTy for clear, precise instructions 👌!! Definitely referring to it for help!
ReplyDelete